初始化环境
特别注意的地方:node节点无法加入master日志也看不出什么,因为hostname相同,kubeadm reset里面会还原hostname,多检查hostname,可以使用hostnamectl –static set-hostname k8s-master设置会比较好,hostname也会引起kubernetes-dashbaord无法部署的
控制台参考:http://www.linuxwan.com/archives/808.html
集群的参考:http://www.linuxwan.com/archives/802.html
systemctl stop firewalld && systemctl disable firewalld && setenforce 0
sed -i 's/SELINUX=enforcing/SELINUX=disabled/g' /etc/selinux/config
关闭交换分区
swapoff -a && sysctl -w vm.swappiness=0修改主机名添加/etc/hosts(所有节点安装)
hostnamectl --static set-hostname k8s-master
hostnamectl --static set-hotname k8s-node-1
hostnamectl --static set-hostname k8s-node-2

cat >> /etc/hosts <<EOF
172.31.39.141 k8s-master
172.31.35.214 k8s-node-1
172.31.38.44 k8s-node-2
EOF
添加yum源(所有节点安装)
cat << EOF > /etc/yum.repos.d/kubernetes.repo
[kubernetes]
name=Kubernetes
baseurl=https://mirrors.aliyun.com/kubernetes/yum/repos/kubernetes-el7-x86_64
enabled=1
gpgcheck=1
repo_gpgcheck=1
gpgkey=https://mirrors.aliyun.com/kubernetes/yum/doc/yum-key.gpg https://mirrors.aliyun.com/kubernetes/yum/doc/rpm-package-key.gpg
EOF

wget https://mirrors.aliyun.com/docker-ce/linux/centos/docker-ce.repo -O /etc/yum.repos.d/docker-ce.repo
安装组件及docker (所有节点安装 如果安装了docker请去掉docker的安装 docker版本18.06.1)
yum install -y kubelet-1.15.0 kubeadm-1.15.0 kubectl-1.15.0 docker-ce-18.06.1.ce配置路由
cat  > /etc/sysctl.d/k8s.conf <<EOF
net.bridge.bridge-nf-call-ip6tables = 1
net.bridge.bridge-nf-call-iptables = 1
EOF

sysctl --system
启动docker
systemctl start docker
systemctl enable docker
查看版本
[root@k8s-master ~]# docker version
Client:
 Version:           18.06.1-ce
 API version:       1.38
 Go version:        go1.10.3
 Git commit:        e68fc7a
 Built:             Tue Aug 21 17:23:03 2018
 OS/Arch:           linux/amd64
 Experimental:      false

Server:
 Engine:
  Version:          18.06.1-ce
  API version:      1.38 (minimum version 1.12)
  Go version:       go1.10.3
  Git commit:       e68fc7a
  Built:            Tue Aug 21 17:25:29 2018
  OS/Arch:          linux/amd64
  Experimentaltalall
[root@k8s-master ~]# kubeadm version
kubeadm versn: &versn: &version.Info{Major:"1", Minor:"14", GitVersion:"v1.15.0", GitCommit:"66049e3b21efe110454d67df4fa62b08ea79a19b", GitTreeState:"clean", BuildDate:"2019-05-16T16:20:34Z", GoVersion:"go1.12.5", Compiler:"gc", Platform:"linux/amd64"}
[root@k8s-master ~]# kubectl version
Client Version: version.Info{Major:"1", Minor:"14", GitVersion:"v1.15.0", GitCommit:"66049e3b21efe110454d67df4fa62b08ea79a19b", GitTreeState:"clean", BuildDate:"2019-05-16T16:23:09Z", GoVersion:"go1.12.5", Compiler:"gc", Platform:"linux/amd64"}
使用kubeadm安装master 节点组件
常用命令:
kubeadm init 启动一个 Kubernetes 主节点
kubeadm join 启动一个 Kubernetes 工作节点并且将其加入到集群
kubeadm upgrade 更新一个 Kubernetes 集群到新版本
kubeadm config 如果使用 v1.7.x 或者更低版本的 kubeadm 初始化集群,您需要对集群做一些配置以便使用 kubeadm upgrade 命令
kubeadm token 管理 kubeadm join 使用的令牌
kubeadm reset 还原 kubeadm init 或者 kubeadm join 对主机所做的任何更改
1.14版本后不支持外网集群 所以去掉 –apiserver-advertise-address 118.184.218.184 集群需要同一个运营商购买的服务器内网通(外网貌似需要域名和证书很麻烦)
kubeadm init --kubernetes-version=v1.15.0 --pod-network-cidr=10.244.0.0/16 --ignore-preflight-errors=swap --image-repository=registry.cn-hangzhou.aliyuncs.com/google_containers --ignore-preflight-errors=SystemVerification输出如下:
[init] Using Kubernetes version: v1.15.0
[preflight] Running pre-flight checks
        [WARNING Service-Docker]: docker service is not enabled, please run 'systemctl enable docker.service'
        [WARNING IsDockerSystemdCheck]: detected "cgroupfs" as the Docker cgroup driver. The recommended driver is "systemd". Please follow the guide at https://kubernetes.io/docs/setup/cri/
        [WARNING Hostname]: hostname "jd" could not be reached
        [WARNING Hostname]: hostname "jd": lookup jd on 103.224.222.222:53: no such host
        [WARNING Service-Kubelet]: kubelet service is not enabled, please run 'systemctl enable kubelet.service'
[preflight] Pulling images required for setting up a Kubernetes cluster
[preflight] This might take a minute or two, depending on the speed of your internet connection
[preflight] You can also perform this action in beforehand using 'kubeadm config images pull'
[kubelet-start] Writing kubelet environment file with flagsto file "/var/late and key
[certs] Generating "etcd/ca" certificcate and key
[cenfiuration to file "/var/lib/kubelet/config.aml"
[kubelet-start] AActivating the kubelet service
[certs] Usiing certificateDir foldeificate and key
[certs] Generating "front-proxy-client" certificate and key
[certs] Generating "etcd/ca" certificate and key
[certs] Generating "etcd/server" certifte and key
[certs] etcd/server serving cert is signed for DNS n  names [jd localhost] and IPs [192.168.0.3 127.0.0.1 ::1]
[certs] Generating "apiserver-etcd-client" certificate and key
[certs] Generating "etcd/peer" certificate and key
[certs] etcd/peer serving cert is signed for DNS names [jd localhost] and IPs [192.168.0.3 127.0.0.1 ::1]
[certs] Generating "etcd/healthcheck-client" certificate and key
[certs] Generating "ca" certificate and key
[certs] Generating "apiserver-kubelet-client" certificate and key
[certs] Generating "apiserver" certificate and key
[certs] apiserver serving cert is signed for DNS names [jd kubernetes kubernetes.default kubernetes.default.svc kubernetes.default.svc.cluster.local] and IPs [10.96.0.1 192.168.0.3]
[certs] Generating "sa" key and public key
[kubeconfig]fig] Using kubeconfig folder "/etc/kubernetes"
[kubeconfig] Writ"admin.conf" kubeconfig file
[kubeconfig] Writing "kubelet.conf" kubeconfig file
[kubeconfig] Writing "controller-manager.conf" kubeconfig file
[kubeconfig] Writing "scheduler.conf" kubeconfig file
[control-plane] Using manifest folder "/etc/kubernetes/manifests"
[control-plane] Creating static Pod manifest for "kube-apiserver"
[control-plane] Creatin static Pod manifest for "kube-controller-manager"
[control-planne] Creating static Pod manifest for "kube-scheduler"
[etcd] Creating static Pod manifest for local etcd in "/etc/kubernetes/manifests"
[wait-control-plane] Waiting for the kubelet to boot up the control plane as static Pods from directory "/etc/kubernetes/manifests". This can take up tt for local etcd in "/etc/kubernetes/manifests"
[wait-control-plr 15.001725 seconds
[upload-config] storing the configuration used in ConfigMap "kubeadm-config" in the "kube-system" Namespace
[kubelet] Creating a ConfigMap "kubelet-config-1.14" in namespace kube-system with the configuration for the kubelets in the cluster
[upload-certs] Skipping phase. Please see --experimental-upload-certs
[mark-control-plane] Marking the node jd as control-plane by adding the label "node-role.kubernetes.io/master=''"
[mark-control-plane] Marking the node jd as controltrol-plane by adding the taints [node-role.kubernetes.io/master:hedule]
[bootstrap-token] Using token: br6a7j.79aimgudzio73jy5
[bootstrap-token] Configuring bootstrap tokens, cluster-info ConfigMap, RBAC Roles
[bootstrap-token] configured RBAC rules to allow Node Bootstrap tokens to post CSRs in order for nodes to get long term certificate credentials
[bootstrap-token] configured RBAC rules to allow the csrapprover controller automatically approve CSRs from a Node Bootstrap Token
[bootstrap-token] configured RBAC rules to allow certificate rotation for all node client certificates in the cluster
[bootstrap-token] creating the "cluster-info" ConfigMap in the "kube-public" namespace
[addons] Applied essential addon: CoreDNS
[addons] Applied essential addon: kube-proxy

Your Kubernetes control-plane has initialized successfully!

To start using your cluster, you need to run the following as a regular user:

  mkdir -p $HOME/.kube
  sudo cp -i /etc/kubernetes/admin.conf $HOME/.kube/config
  sudo chown $(id -u):$(id -g) $HOME/.kube/config

You should now deploy a pod network to the cluster.
Run "kubectl apply -f [podnetwork].yaml" with one of the options listed at:
  https://kubernetes.io/docs/concepts/cluster-administration/addons/

Then you can join any number of worker nodes by running the following on each as root:

kubeadm join 192.168.0.3:6443 --token br6a7j.79aimgudzio73jy5 \
    --discovery-token-ca-cert-hash sha256:0623e22780c5a25138208fc417f874a0c70ca28543acf52be52ee445ec0c1dd3
所有node通过这个命令加入集群(内网需要通)
kubeadm join 192.168.0.3:6443 --token br6a7j.79aimgudzio73jy5 \
    --discovery-token-ca-cert-hn-ca-cert-hhsh sha256:0623e22780c5a25138208fc417f874a0c70ca28543445ec0c1dd3
如果token过期了 重新生成呀
kubeadm token generate

kubeadm token create <generated-token>> --print-join-command --ttl=24h
–ttl=24h 代表这个Token 的有效期为 24 小时,初始化默认生成的 token 有效期也为 24 小时
添加连接集群config配置
mkdir -p $HOME/.kube
sudo cp -i /etc/kubernetes/admin.conf $HOME/.kube/config
sudo chown $(id -u):$(id -g) $HOME/.kube/config
查看组件状态
[root@k8s-master ~]# kubectl get cs
NAME                 STATUS    MESSAGE             ERROR
controller-manager   Healthy   ok
scheduler            Healthy   ok
etcd-0               Healthy   {"health":"true"}
[root@k8s-master ~]# kubectl get node
NAME         STATUS     ROLES    AGE   VERSION
k8s-master   NotReady   master   31m   v1.15.0
安装网络插件
安装网络插件需要注意保证docker register私有仓库中已经有该镜像
下载kube-flannel.yaml 配置
wget https://raw.githubusercontent.com/coreos/flannel/master/Documentation/kube-flannel.yml

kubectl apply -f kube-flannel.yml
查看集群网络状态
[root@k8s-master ~]# kubectl get pods -o wide --all-namespaces
NAMESPACE     NAME                                 READY   STATUS    RESTARTARARRP              NODE         NOMINATED NODE   READISS GATESSS GATES
kube-system   coredns-fb8b8dccf-nvn2l              1/1     Running   0          34m   10.244.0.35     k8s-master
kube-system   coredns-fb8b8dccf-twk52              1/1     Running   0          34m   10.244.0.34     k8s-master
kube-system   etcd-k8s-master                      1/1     Running   1          33m   172.31.39.141   k8s-master
kube-system   kube-apiserver-k8s-master            1/1     Running   1          33m   172.31.39.141   k8s-master
kube-system   kube-controller-manager-k8s-master   1/1     Running   1          33m   172.31.39.141   k8s-master
kube-system   kube-flannel-ds-amd64-j8w25          1/1     Running   1          34m   172.31.39.141   k8s-master
kube-system     34m   172.31.39.141   k8s-master
kube-system   kube-scheduler-k8s-master            1/1     Running   1          33m   172.31.39.141   k8s-master

[root@k8s-master ~]# kubectl get node
NAME         STATUS   ROLES    AGE   VERSION
k8s-master   Ready    master   34m   v1.15.0
如果出现问题重置系统
kubeadm resetnode节点
获取master的join token
kubeadm token create --print-join-commandnode节点需要重复上面拉取镜像(包含)所有的操作,node节点如果hostname不能和master相同,如果安装出错kubeadm reset重新安装
kubeadm join 192.168.0.3:64433 --token e6gc7z.t52g39w7mxww18gn \
    --discovery-token-ca-cert-hash sha256:603fbd109caf000c0cffe286c7b2eeebaf88d0540e1ea226d7f1b239d0695f1e

[preflight] Running pre-flight checks
[WARNING IsDockerSystemdCheck]: detected "cgroupfs" as the Docker cgroup driver. The recommended driver is "systemd". Please follow the guide at https://kubernetes.io/docs/setup/cri/
[preflight] Reading configuration from the cluster...
[preflight] FYI: You can look at this config filewith 'kubectl -n kube-system get cm kubeadm-config -oyaml'
[kubeelet-start] Downloading configuration for the kubelet from the "kubelet-config-1.14" ConfigMap in the kube-system namespace
[kubelet-start] Writing kubelet configuration to file "/var/lib/kubelet/config.yaml"
[kubelet-start] Writing kubelet environment file with flags to file "/var/lib/kubelet/kubeadm-flags.env"
[kubelet-start] Activating the kubelet service
[kubelet-start] Waiting for the kubelet to perform the TLS Bootstrap...

This node has joined the cluster:
* Certificate signing request was sent to apiserver and a response was received.
* The Kubelet was informed of the new secure connection details.

Run 'kubectl get nodes' on the control-plane to see this node join the cluster.
查看节日日志
journalctl -f -u kubelet.service查看节点状态
[root@k8s-master ~]# kubectl get node -o wide
NAME         STATUS   ROLES    AGE     VERSION   INTERNAL-IP     EXTERNAL-IP   OS-IMAGE                KERNEL-VERSION              CONTAINER-RUNTIME
k8s-master   Ready    master   48m     v1.ux 7(Core)   3.10.0-862.2.3.el7.x86_64   docker://18.6.1
k8s-no..2.3.el7.x86_64   docker://18.6.1
k8s-node-1    Ready       2m33s   v1.15.0   172.31.35.214           CentOS Linux 7 (Core)   3.10.0-862.2.3.el7.x86_64   docker://18.6.1
k8s-node-2   Ready       23s     v1.15.0   172.31.38.44            CentOS Linux 7 (Core)   3.10.0-862.2.3.el7.x86_64   docker://18.6.1

[root@k8s-master ~]# kubectl get pods -o wide --all-namespaces
NAMESPACE     NAME                                 READY   STATUS    RESTARTS   AGE     IP              NODE         NOMINATED NODE   READINESS GATES
kube-system   coredns-fb8b8dccb8b8dcc8b8dccb8dcc8dccdcccccn2l              1/1     Running   0.0.35     k8s-master
kube-system   coredns-fb8b8dccf-twk52              1/1     Running   0     57m     10.244.0.34     k8s-master
kube-system  tem   etcd-k8s-master                      1/1     Running   1          56m     172.31.39.141   k8s-master
kube-system   kube-apiserver-k8s-master            1/1     Running   1          56m     172.31.39.141   k8s-master
kube-system   kube-controller-manager-k8s-master   1/1     Running   1          56m     172.31.39.141   k8s-master
kube-system   kube-flannel-ds-amd64-j8w25          1/1     Running   1          56m     172.31.39.141   k8s-master
kube-system   kube-flannel-ds-amd64-pvb74          1/1     Running   0          11m     172.31.35.214   k8s-node-1
kube-system   kube-flannel-ds-amd64-vh575          1/1     Running   0          9m44s   172.31.38.44    k8s-node-2
kube-system   kube-proxy-cdnrp                     1/1     Running   0          11m     172.31.35.214   k8s-node-1
kube-system   kube-proxy-skfbb                     1/1     Running   0          9m44s   172.31.38.44    k8s-node-2
kube-system   kube-proxy-z8cb9                     1/1     Running   1          57m     172.31.39.141   k8s-master
kube-system   kube-scheduler-k8s-master            1/1     Running   1          56m     172.31.39.141   k8s-master
集群正常运行,安装完毕
因为我测试只有一台机器 所以需要部署项目 要执行下面的然后等待几分钟在部署项目就行了
单机部署没有node节点的情况下 要部署服务需要执行下面的
报错:0/1 nodes are available: 1 node(s) had taints that the pod didn't tolerate.
解决:kubectl taint nodes --all node-role.kubernetes.io/master-
重启kubernets
systemctl restart kubelet重装kubernets
kubeam reset
rm -f $HOME/.kube/
安装kubernetes-dashboard的ui(master机器部署的)
安装dashboard
Kubernetes Dashboard (仪表盘)是一个旨在将通用的基于 Web 的监控和操作界面加入 Kubernetes 的项目
可以查看当前最新版本:https://raw.githubusercontent.com/kubernete
下载文件
wget https://raw.githubusercontent.com/kubernetes/dashboard/v1.10.1/src/deploy/recommended/kubernetes-dashboard.yaml查看当前最新版本:
egrep "image" kubernetes-dashboard.yaml下载镜像
docker pull registry.cn-hangzhou.aliyuncs.com/google_containers/kubernetes-dashboard-amd64:v1.10.1重新打标签
docker tag registry.cn-hangzhou.aliyuncs.com/google_containers/kubernetes-dashboard-amd64:v1.10.1 k8s.gcr.io/kubernetes-dashboard-amd64:v1.10.1如果打标签行不通的话 直接改kubernetes-dashboard.yaml中的镜像改成registry.cn-hangzhou.aliyuncs.com/google_containers/kubernetes-dashboard-amd64:v1.10.1
加载dashboard配置
在service 控制器中添加NodePort 类型,实现外网访问
创建文件挂在目录(所有节点创建)
mkdir -p /var/share/certs实现外网访问(添加 nodePort: 31234 type: NodePort):
vi kubernetes-dashboard.yaml
kiervice
apiVersion: v1
metadata:
  labels:
    k8s-app: kubeuubernetrrnetes-dashboard
  name: kubernetes-dashboard
  namespace: kube-system
spec:
  ports:
    - port: 443
      targetPort: 8443
      nodePort: 31234
  selector:
    k8s-app: kubernetes-dashboard
  type: NodePort
创建kubernetes-dashboard的ui:
kubectl apply -f kubernetes-dashboard.yaml
secret/kubernetes-dashboard-certs created
serviceaccount/kubernetes-dashboard created
role.rbac.authorization.k8s.io/kubernetes-dashboard-minimal created
rolebinding.rbac.authorization.k8s.io/kubernetes-dashboard-minimal created
deployment.apps/kubernetes-dashboard created
service/kubernetes-dashboard created
查看dashboard 启动状态和service端口
kubectl get service -n kube-system
NAME                   TYPE        CLUSTER-IP       EXTERNAL-IP   PORT(S)                  AGE
kube-dns               ClusterIP   10.96.0.10               53/UDP,53/TCP,9153/TCP   102m
kubernetes-dashbs -n kube-system
READY   STATUS    RESTARTS   AGE
coredns-fb8b8d

kubectl get pods -n kube-system
READY   STATUS    RESTARTS   AGE
coredns-fb8b8dccf-nvn2l                 1/1     Running   0          102m
coredns-fb8b8dccf-twk52                 1/1     Running   0          102m
etcd-k8s-master                         1/1     Running   1          101m
kube-apiserver-k8s-master               1/1     Running   1          101m
kube-controller-manager-k8s-master      1/1     Running   1          101m
kube-flannel-ds-amd64-j8w25             1/1     Running   1          102m
kube-flannel-ds-amd64-pvb74             1/1     Running   2          57m
kube-flannel-ds-amd64-vh575             1/1     Running   0          55m
kube-proxy-cdnrp                        1/1     Running   2          57m
kube-proxy-skfbb                        1/1     Running   0          55m
kube-proxy-z8cb9                        1/1     Running   1          102m
kube-scheduler-k8s-master               1/1     Running   1          101m
kubernetes-dashboard-5f7b999d65-522p9   1/1     Running   0          31m
配置https证书
生成私钥和证书签名
openssl genrsa -des3 -passout pass:x -out dashboard.pass.key 2048
openssl rsa -passin pass:x -in dashboard.pass.key -out dashboard.key
rm dashboard.pass.key
openssl req -new -key dashboard.key -out dashboard.csr【如遇输入,一路回车即可】
生成SSL证书
openssl x509 -req -sha256 -days 365 -in dashboard.csr -signkey dashboard.key -out dashboard.crt然后将生成的 dashboard.key 和 dashboard.crt置于路径 下/var/share/certs目录下
scp dashboard.key dashboard.crt /var/share/certs/加载admin-token.yaml 配置
vi admin-token.yaml
kind: ClusterRoleBinding
apiVersion: rbac.authorization.k8s.io/v1beta1
metadata:
  name: adm
  annotations:
    rbac.authorization.kubernetes.io/autoupdateee: "true"
roleRef:
  kind: ClusterRole
  name: cluster-admin
  apiGroup: rbac.authorization.k8s.io
subjects:
- kind: ServiceAccount
  name: admin
  namespace: kube-system
---
apiVersion: v1
kind: ServiceAccount
metadata:
  name: admin
  namespace: kube-system
  labels:
    kubernetes.io/cluster-service: "true"
    addonmanager.kubernetes.io/mode: Reconcile
执行kubectl create -f admin-token.yaml
查看token
kubectl get secret $(kubectl get secret -n kube-system|grep admin-token|awk '{print $1}') -n kube-system -o jsonpath={.data.token}|base64 -d |xargs echo通过浏览器登录web界面(火狐才能访问):
输入token:
eyJhbGciOiJSUzI1NiIsImtpZCI6IiJ9.eyJpc3MiOiJrdWJlcm5ldGVzL3NlcnZpY2VhY2NvdW50Iiwia3ViZXJuZXRlcy5pby9zZXJ2aWNlYWNjb3VudC9uYW1lc3BhY2UiOiJrdWJlLXN5c3RlbSIsImt1YmVybmV0ZXMuaW8vc2VydmljZWFjY291bnQvc2VjcmV0Lm5hbWUiOiJhZG1pbi10b2tlbi05dHJncSIsImt1YmVybmV0ZXMuaW8vc2VydmljZWFjY291bnQvc2VydmljZS1hY2NvdW50Lm5hbWUiOiJhZG1pbiIsImt1YmVybmV0ZXMuaW8vc2VydmljZWFjYvc2VydmhY2NvdW50LnVpZCI6IjgzM2JkYzZiLTg2MGEtMTFlOS1iYzg4LTUyNTQwUyNTQwMDEzYjEEzYjI5OSIsInN1YiI6InN5c3RlbTpzZXJ2aWNlYWNjb3VudDprdWJlLXN5c3RlbTphZG1pbiJ9.mBRp-RZ-9-zV1rTHZdv21h0zXrFhXfhN_B369L65yJHE9KWAkzf_Y8JvQz7Vvutfv3WylaRJcrNOECv1otIbLV75USgjRmz_Ji2Oli3RF8P15qjjxGOViQkVs1HjE5zjThnujc5i81YBM-rkuMHoFX-M5MyJ6fu8WmJMD5VggAguhlzkZILGfqLqHhw74ElSaPOETzmfDac6zVr1uQ5tSYDrZlOTmgKMsjj2SFEM9R1Zdbj5A2cKVC4Nu7yrgk4LXpNj5rlCOmPx8TDH5Rf5us4gL9Hau2L-5bHWLCasZ175VgJWMz1Vr3LHnUbyIUsrLCHYB8KkDLCLXvIV_F051g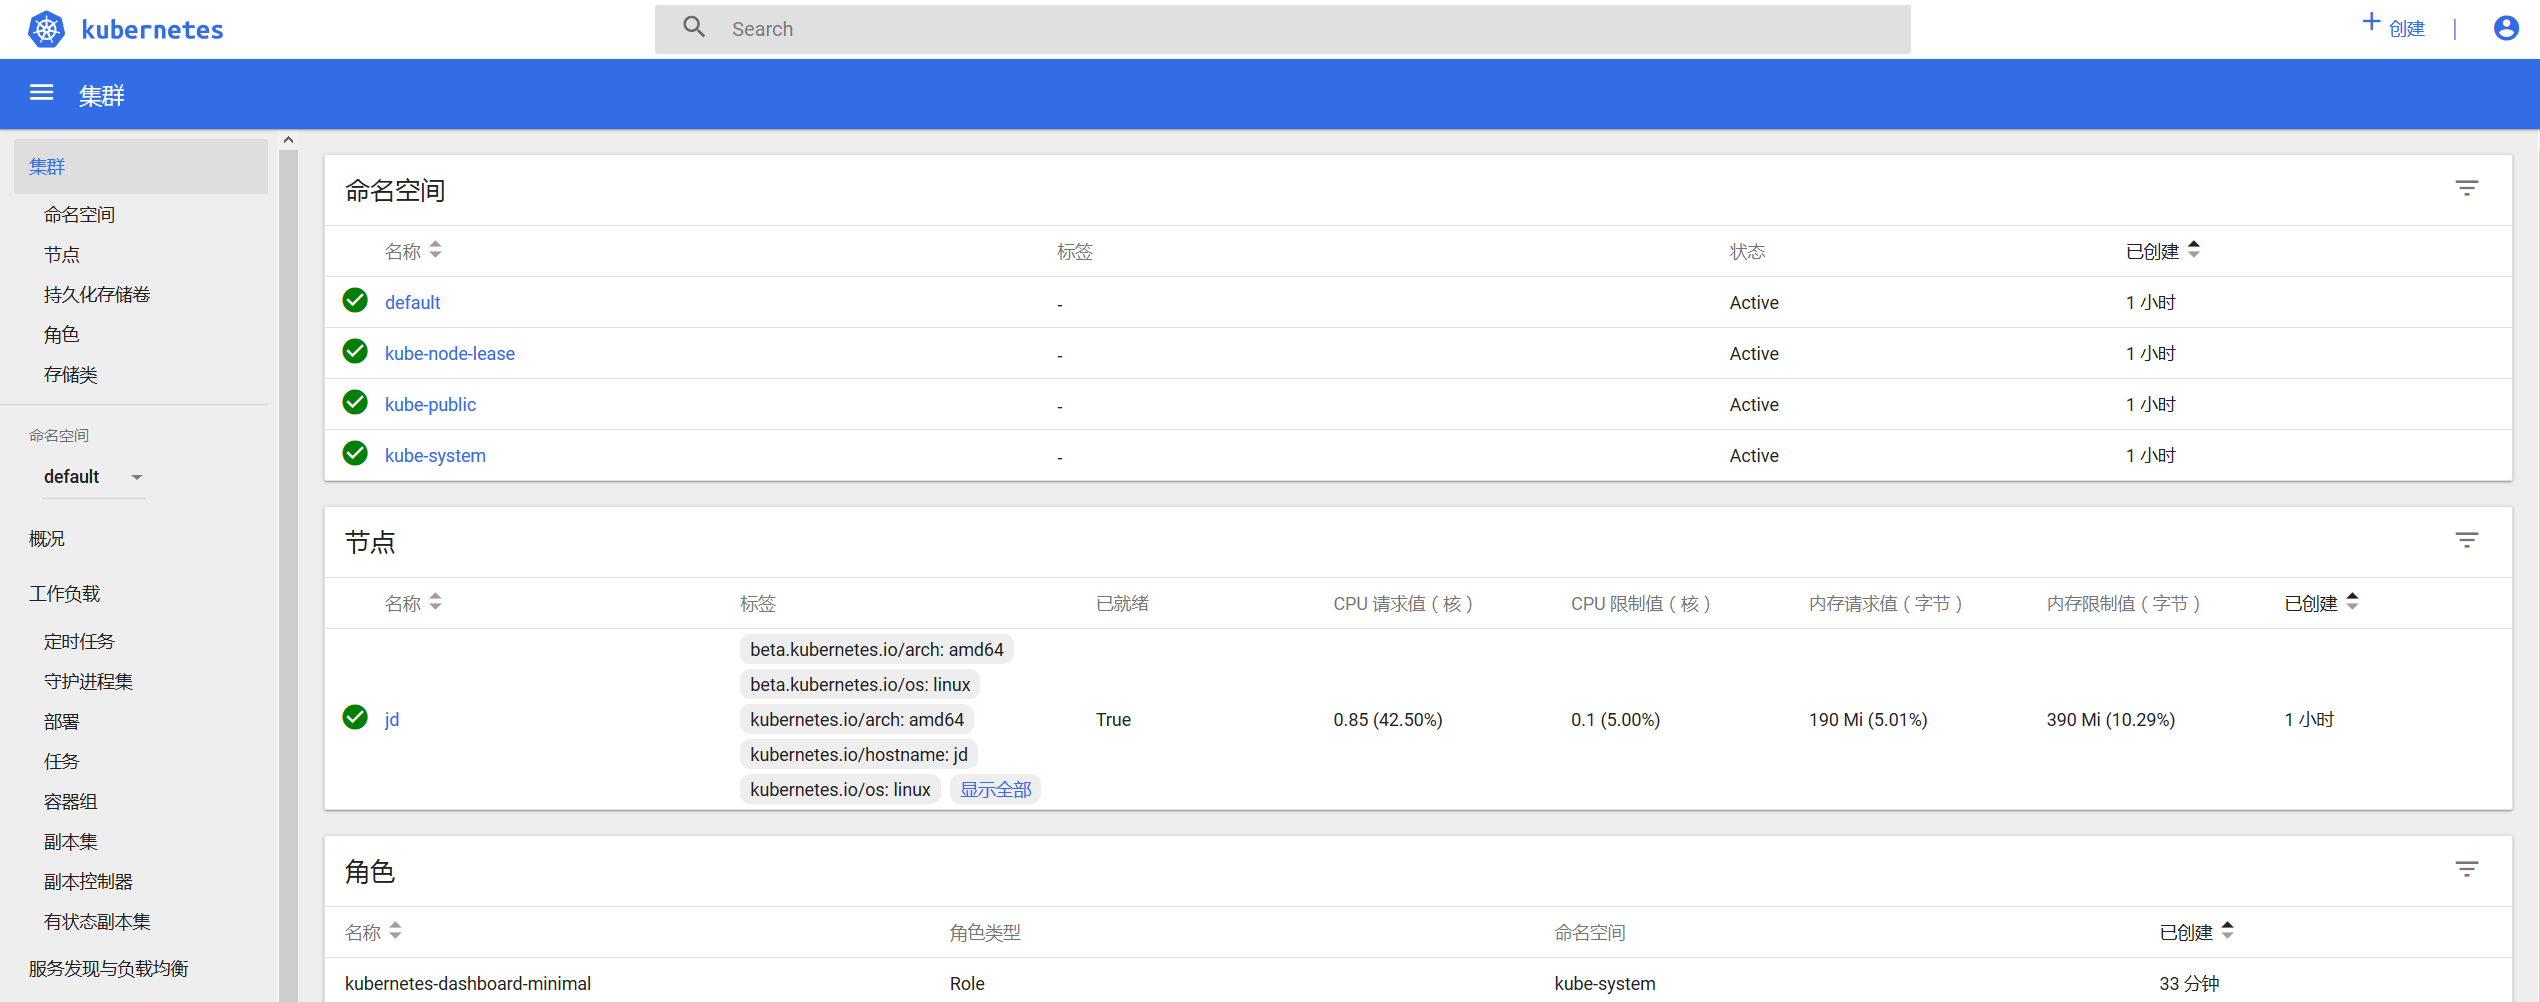
踩坑:
集群不正常也会报错(因为hostname相同造成的 hostnamectl –static set-hostname k8s-master)
network: failed to set bridge addr: "cni0" already has an IP address different from 10.244.2.1/24集群一切正常 界面也正常安装后部署服务发现网络问题
journalctl -u kubelet
failed: rpc error: code = Unknown desc = NetworkPlugin cni failed to set up pod "nginx-8586cf59-rm4sh_default" network: failed to set bridge addr: "cni0" already has an IP address different from 10.244.2.1/24
Error while adding to cni network: failed to set bridge addr: "cni0" already
在Node上执行如下操作:
重置kubernetes服务,重置网络。删除网络配置,link
kubeadm reset
systemctl stop kubelet
systemctl stop docker
rm -rf /var/lib/cni/
rm -rf /var/lib/kubelet/*
rm -rf /etc/cni/
ifconfig cni0 down
ifconfig flannel.1 down
ifconfig docker0 down
ip link delete cni0
ip link delete flannel.1
systemctl start docker